As warm and sunny weekends arrive, our thoughts turn to getting back on the water. But first there’s an endless checklist of maintenance items and a wish list of modifications you promised yourself last fall.
Some items inevitably get put off to the future, and too often, one of those is the electrical system. The consequences can range from inconvenience to disaster.
Depending on your skill level and mechanical abilities, consider whether you want to act as your own inspector or pay an ABYC-certified electrical technician to perform an evaluation and make the repairs. You can also take classes or get onboard training to learn how to spot a potential problem.
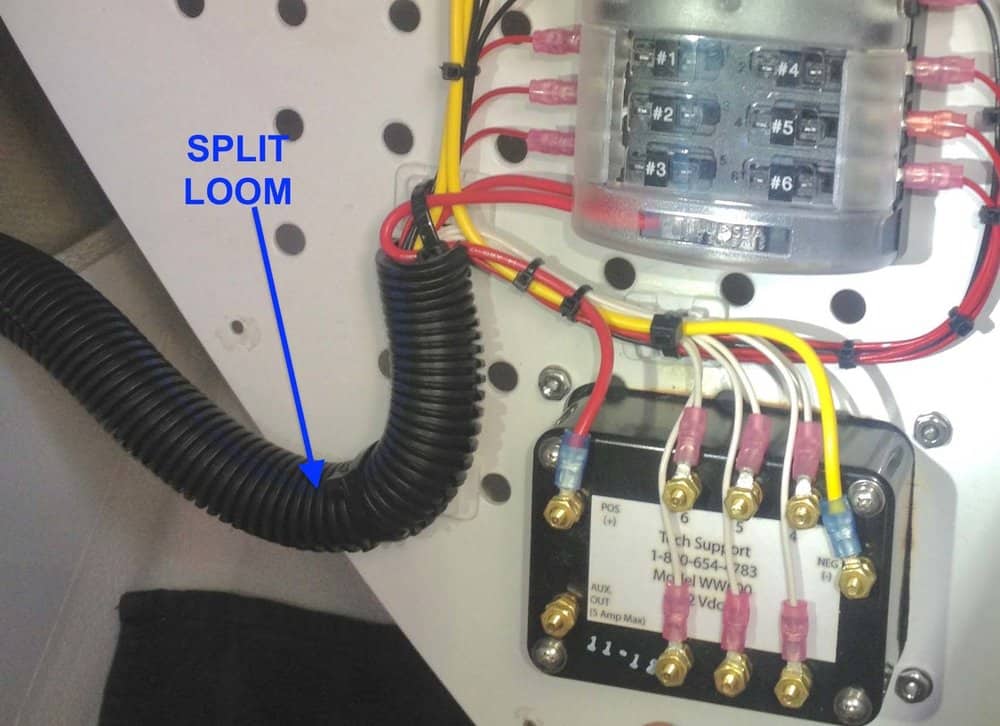
The two main enemies of your electrical system are dampness and vibration, and there’s plenty of both in a marine environment. Inspection is the first step—tightening fasteners, adding split-loom tubing to chafe-prone wires, and seeing corrosion before it becomes a costly problem.
For specific systems, add the following to your electrical maintenance checklist:
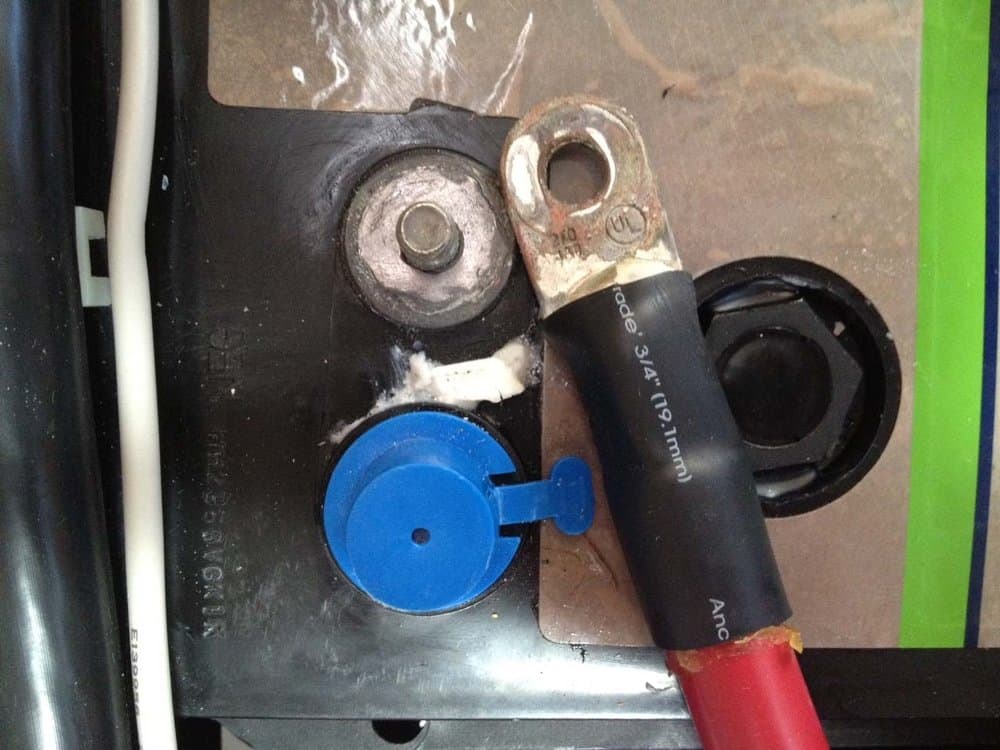
Batteries—Look for signs of corrosion at the terminals and clean them with a stainless steel wire brush. Wipe clean and reassemble. Be sure all the battery cables are tight and corrosion-free, and that the positive terminal has a protective boot to cover it.
Test each battery cable by moving the wire back and forth near the terminal. If the lug (wire end) moves, it is too loose and needs to be tightened. I do not recommend using wing nuts—they simply do not stay tight under the test of time and vibration. Stack the battery connectors with the largest on the bottom and the smallest at the top, then add a stainless steel flat washer followed by a lock washer and a hex nut. Be careful to avoid bridging the battery terminals with your wrench and creating a short circuit.
Battery failure seems to happen at the worst time, so if the batteries are getting older or have been neglected (be honest), you should replace them. Fresh batteries might prevent a ruined cruise.
Finally, confirm that the batteries are strapped down properly, and that the battery box and locker are properly vented. Venting is a requirement for all lead-acid batteries, including wet cell, gel cell, and AGM type, and the vents should be as high as possible. If hydrogen gas from charging lead-acid batteries is contained in a compartment, it can be explosive.
Alternators—The most common problems with alternators are proper belt tension and alignment. The friction contact surfaces of a V-belt are the two angled sides, which transfer the power required by the alternator. If you see shiny sides (known as glaze) on the belt, it’s an indication it has been slipping and should be replaced.
If the alternator is externally regulated, inspect the wiring at both ends of the harness, especially the blue field-current wire attached to the alternator. Replace any loose connections. If the regulator is the clear epoxy-potted circuit-board style, look for hairline cracks in the potting material—a sure sign of too much heat and that it will soon need replacement.
Chargers and Inverter/Chargers—Check for clean and tight battery connections and any sign of corrosion. Make sure each unit is charging at the proper voltage, and remember that to fully test any charging device, the battery must be in good condition.
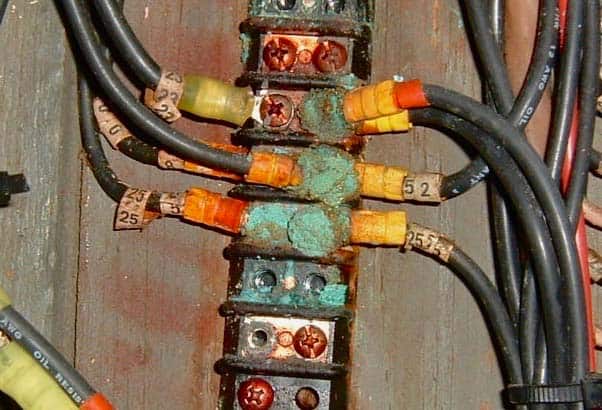
Distribution Circuit Breaker Panels & Wire Terminal Connections— Inspect all circuits for corrosion. A green patina may be desirable in an antique store, but not on electrical circuits.
For heavy corrosion, the best repair is the complete replacement of the terminal strip and all the ring terminals. Nylon crimp cap connectors can collect condensation that forms on the wire, causing corrosion. Cut back to clean wire and use heat-shrink butt connectors for the repair.
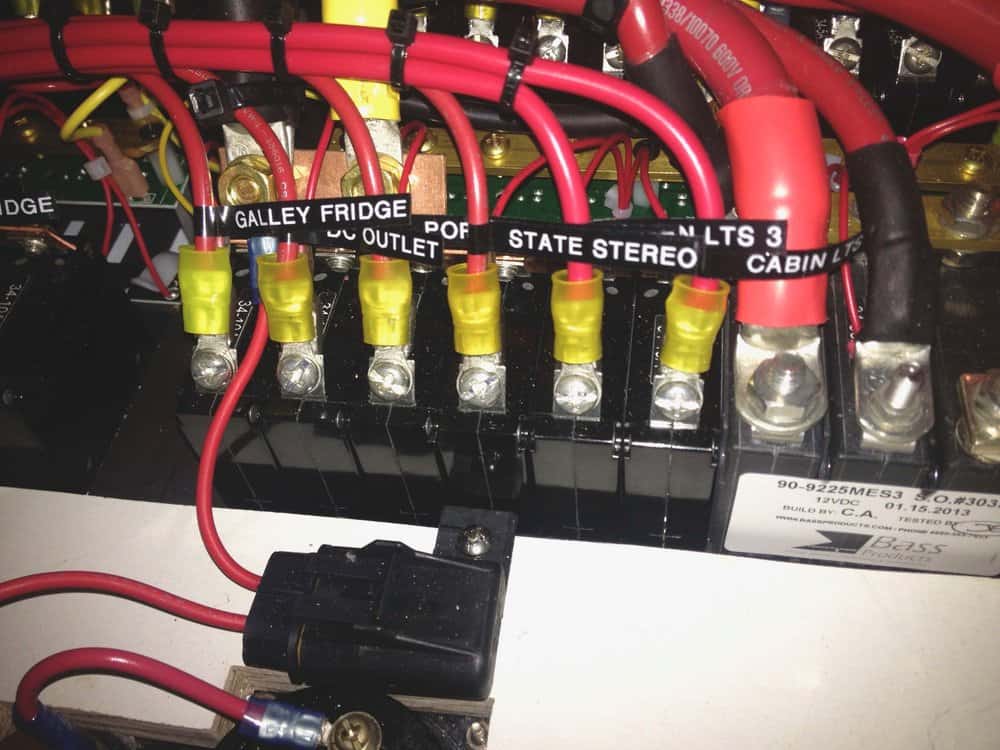
Every two to three years, disable the power and try to tighten each screw terminal. You can usually snug up one eighth to one quarter turn. This can save a lot of searching later on for an intermittent problem or burned conductor.
Bilge Pumps—Inspect the terminal connections where the pump, float switch, and boat wiring come together. Hopefully, they are mounted high in a dry location and show no signs of corrosion. Activate the float switch to run the pump and be wary of intermittent float switch problems.
Electronics—Turn on all the electronics and allow them to run for several hours on a warm day to help remove condensation. Be sure to inspect the NMEA 0183 data connections and DC power connections to each device. Make a VHF radio check call on channel 27 to ensure it is working properly.
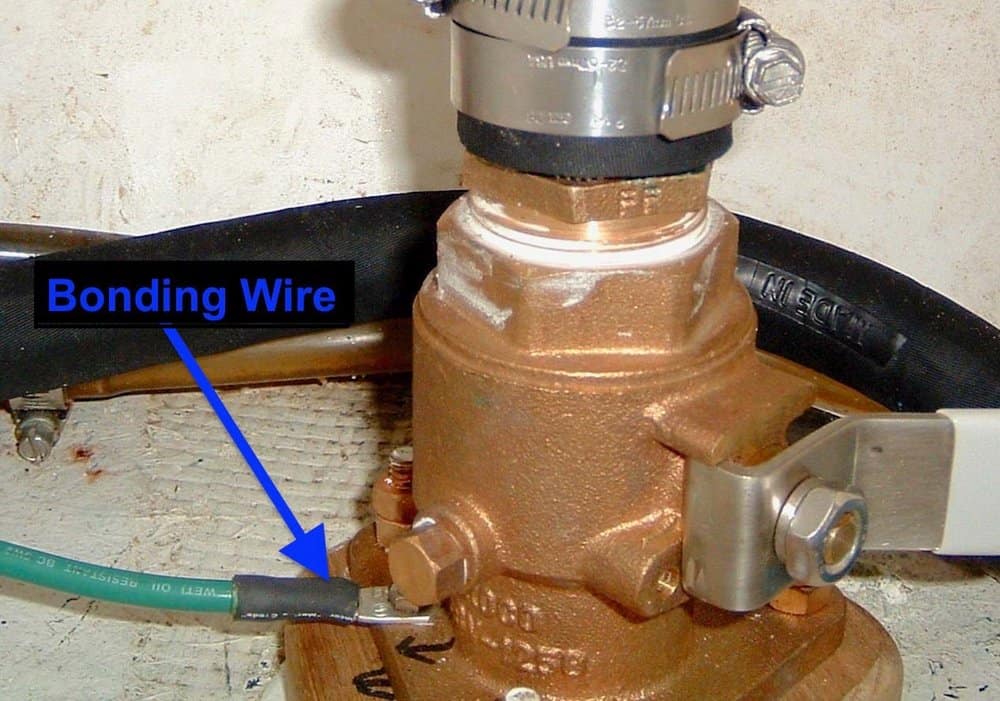
Bonding System—A boat’s bonding circuit is typically the system that sees the least maintenance. It falls into the “out of sight, out of mind” category. Lift the floorboards and inspect the connections to each thru-hull, strut bolt, engine block, rudder post, keel bolt, and anode. Look for a tight and corrosion-free connection. The galvanic bonding system is a milliamp circuit, so the connections must be pristine in order
to achieve any protection.
Being proactive with the electrical system maintenance can go a long way toward making a reliable, safe, and enjoyable time on the Chesapeake.
Bob Campbell is the founder of Marine Electric Systems as well as Bob Campbell Marine Consulting and an ABYC-certified marine electrical technician with more than three decades of professional experience. He teaches the Annapolis School of Seamanship Marine Electrical Systems courses.

